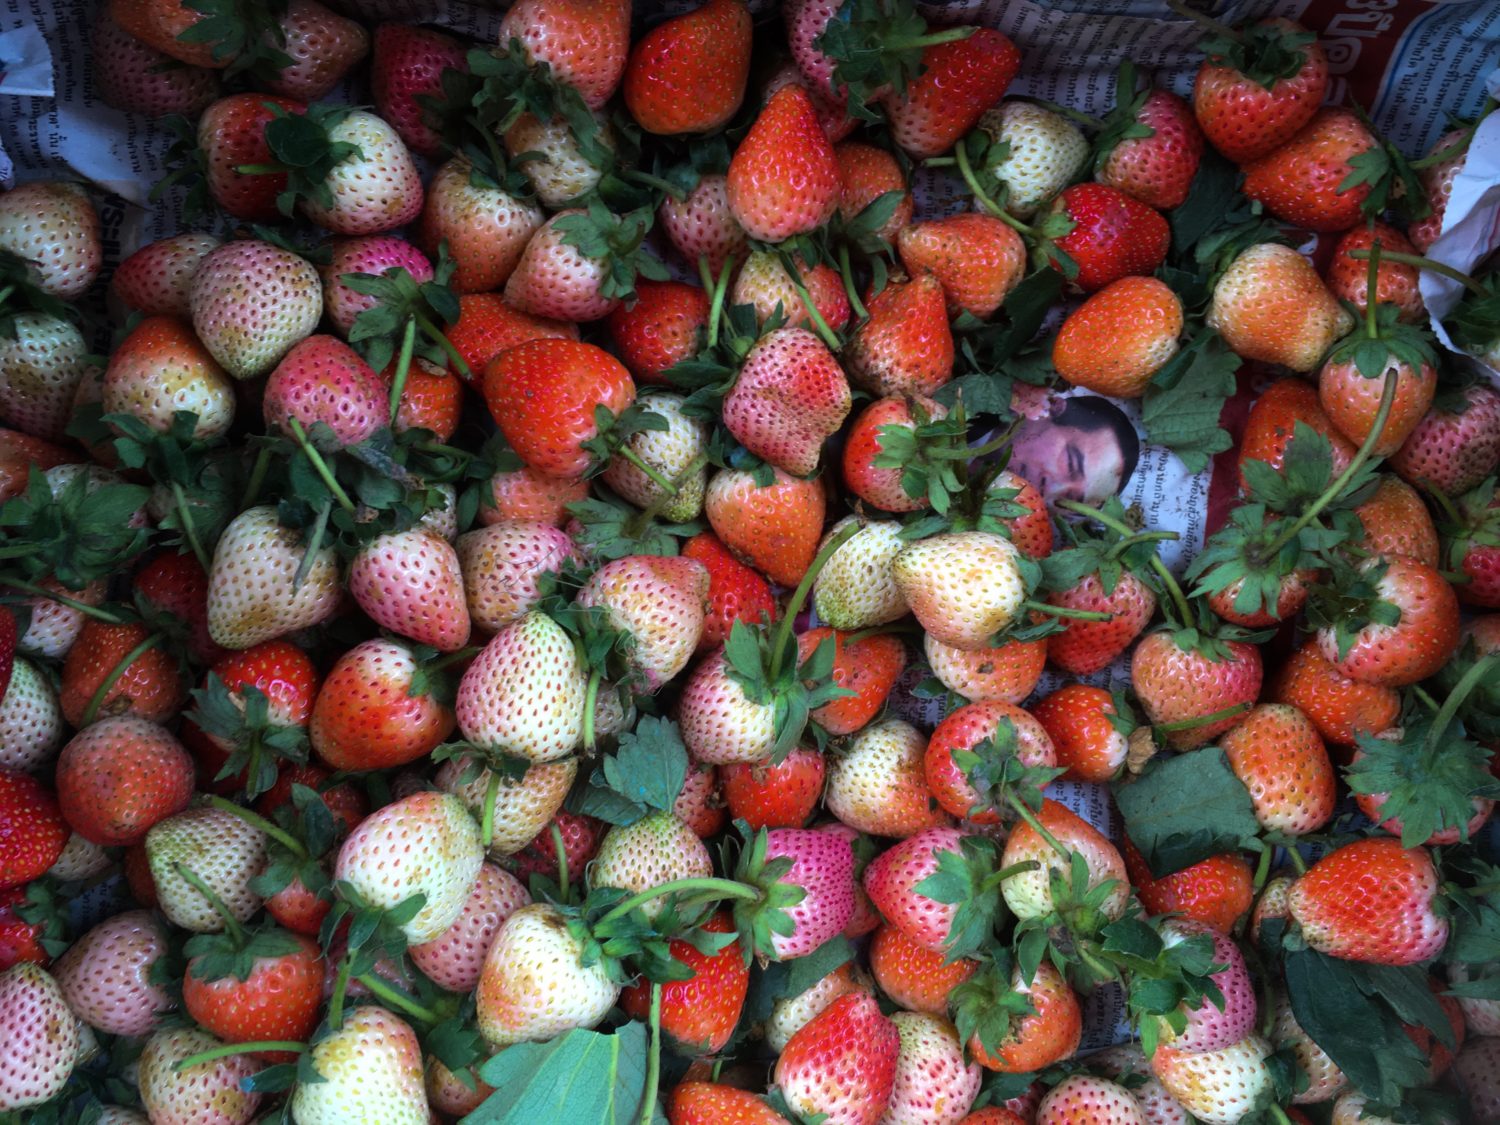
Strawberry season in Thailand starts around December and ends by February when the weather starts turning blazing hot. Don’t get me wrong, it’s always hot in Thailand. But during the “cold” season (I’m using the word ‘cold’ here very loosely), it gets down to about 12 degrees Celsius at night and a high of 25 degrees during the day. What Thais would call their winter is summer for us Canadians. This is my favorite time of year in Thailand. We lived up in Chiang Mai which is a small city surrounded by mountains and because of this, we get the choicest of produce from local farmers who bring their harvest early in the day when they’re still fresh from the ground. Strawberries from the mountains of Chiang Mai are amazing. They’re smaller in size, but definitely not in flavour. They’re so sweet and juicy that locals buy them by the bushels.
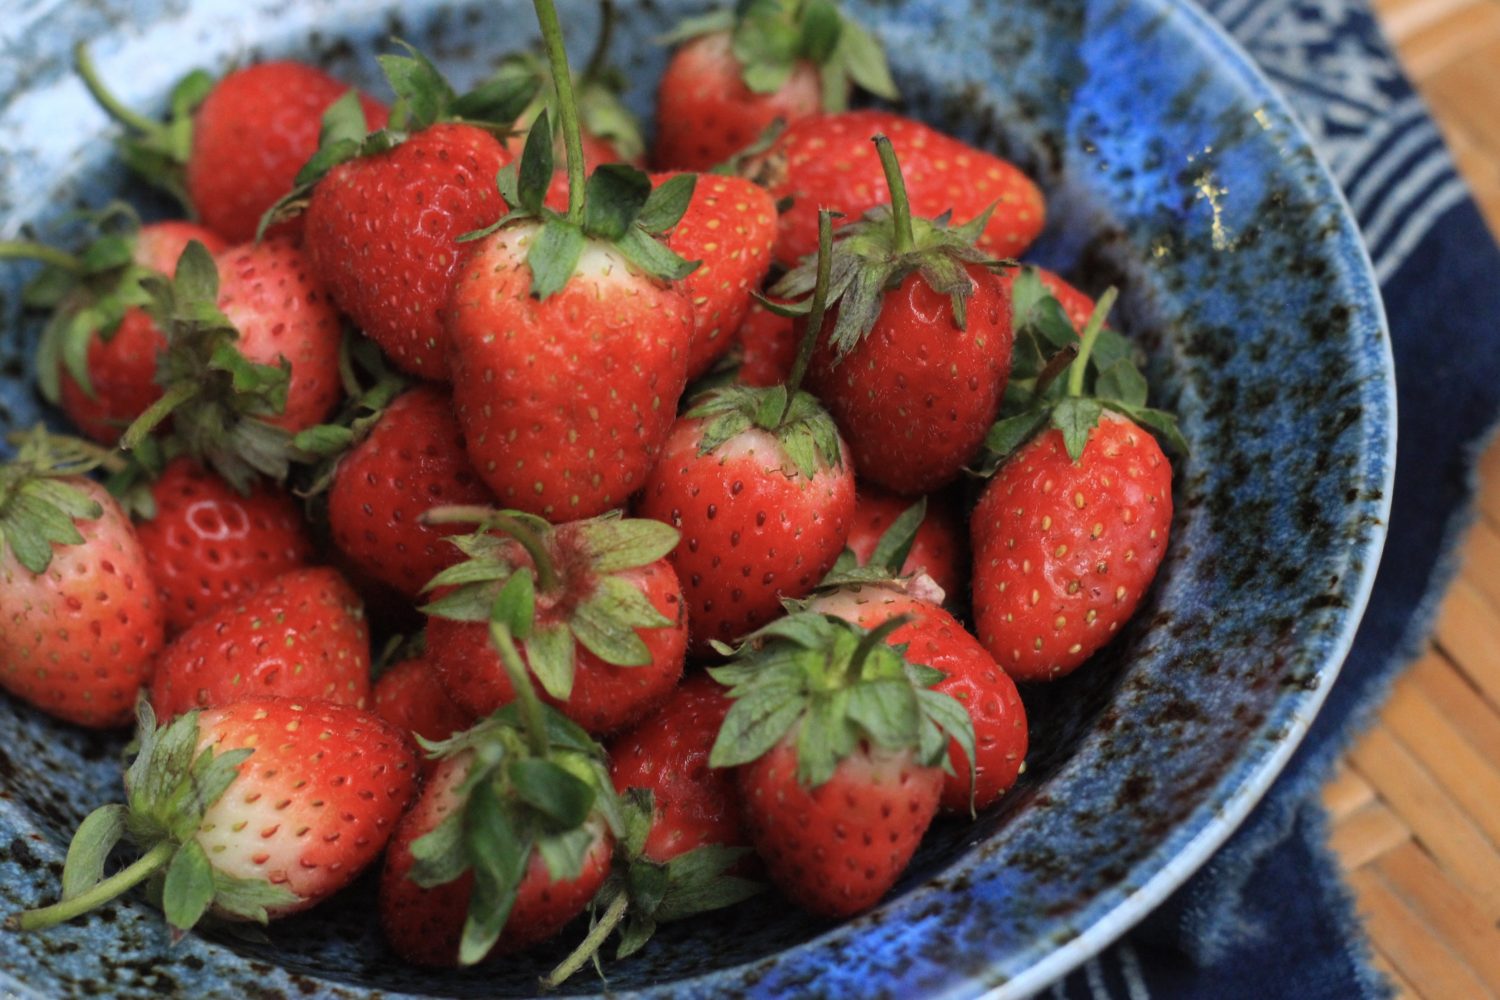
nature’s candy
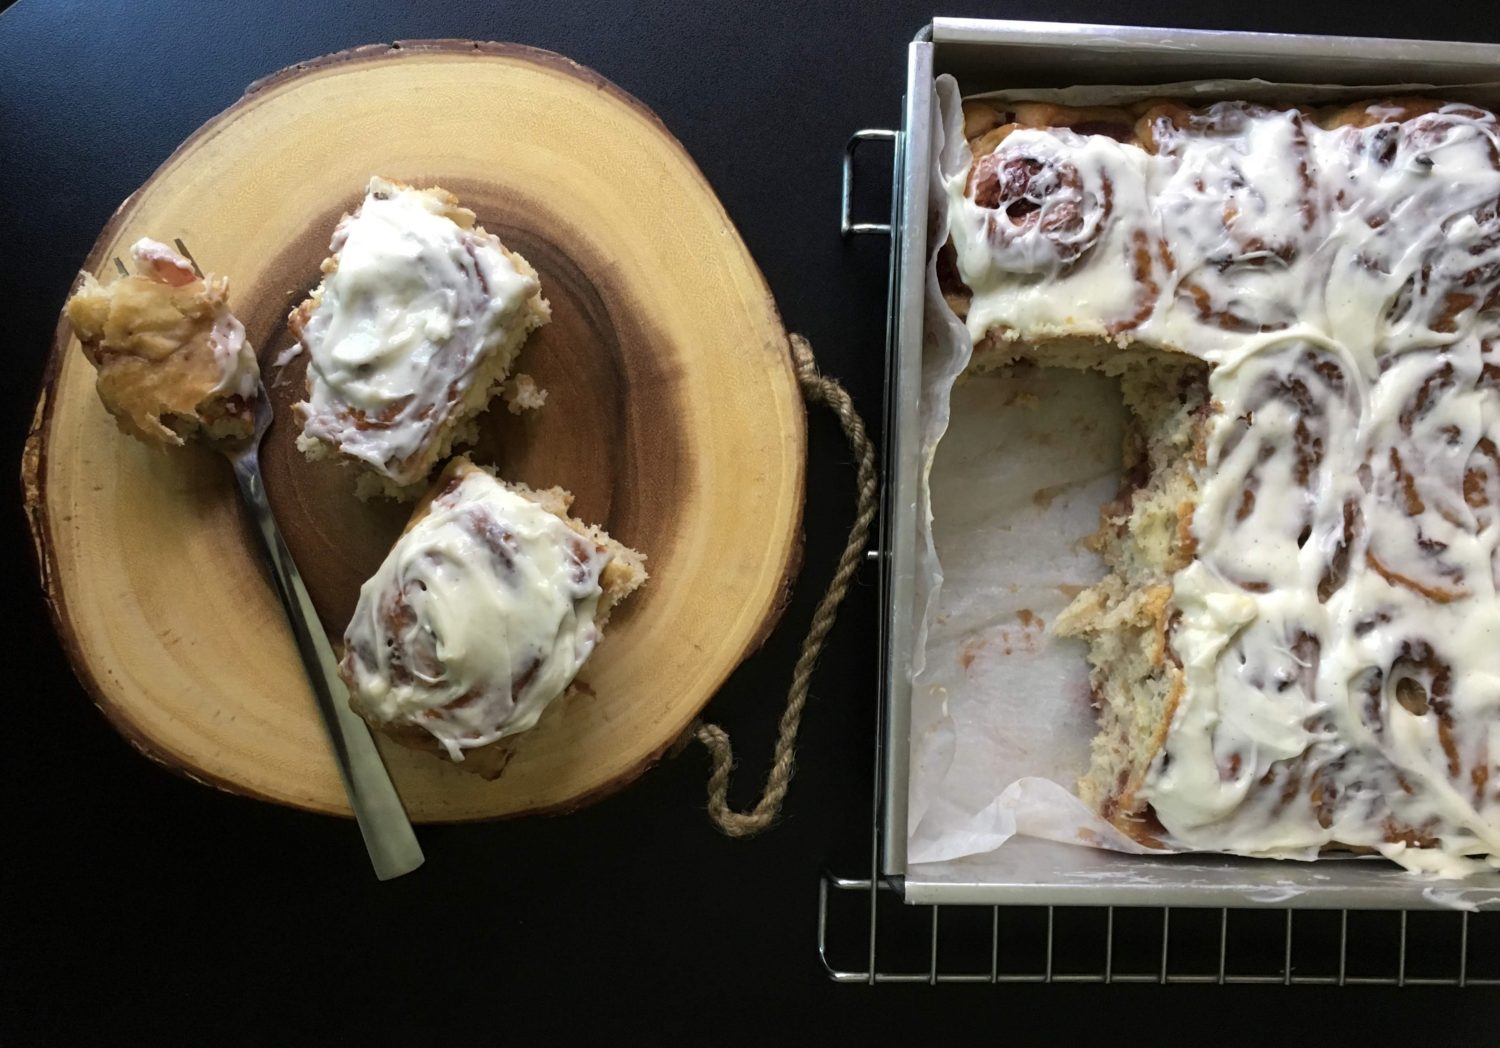
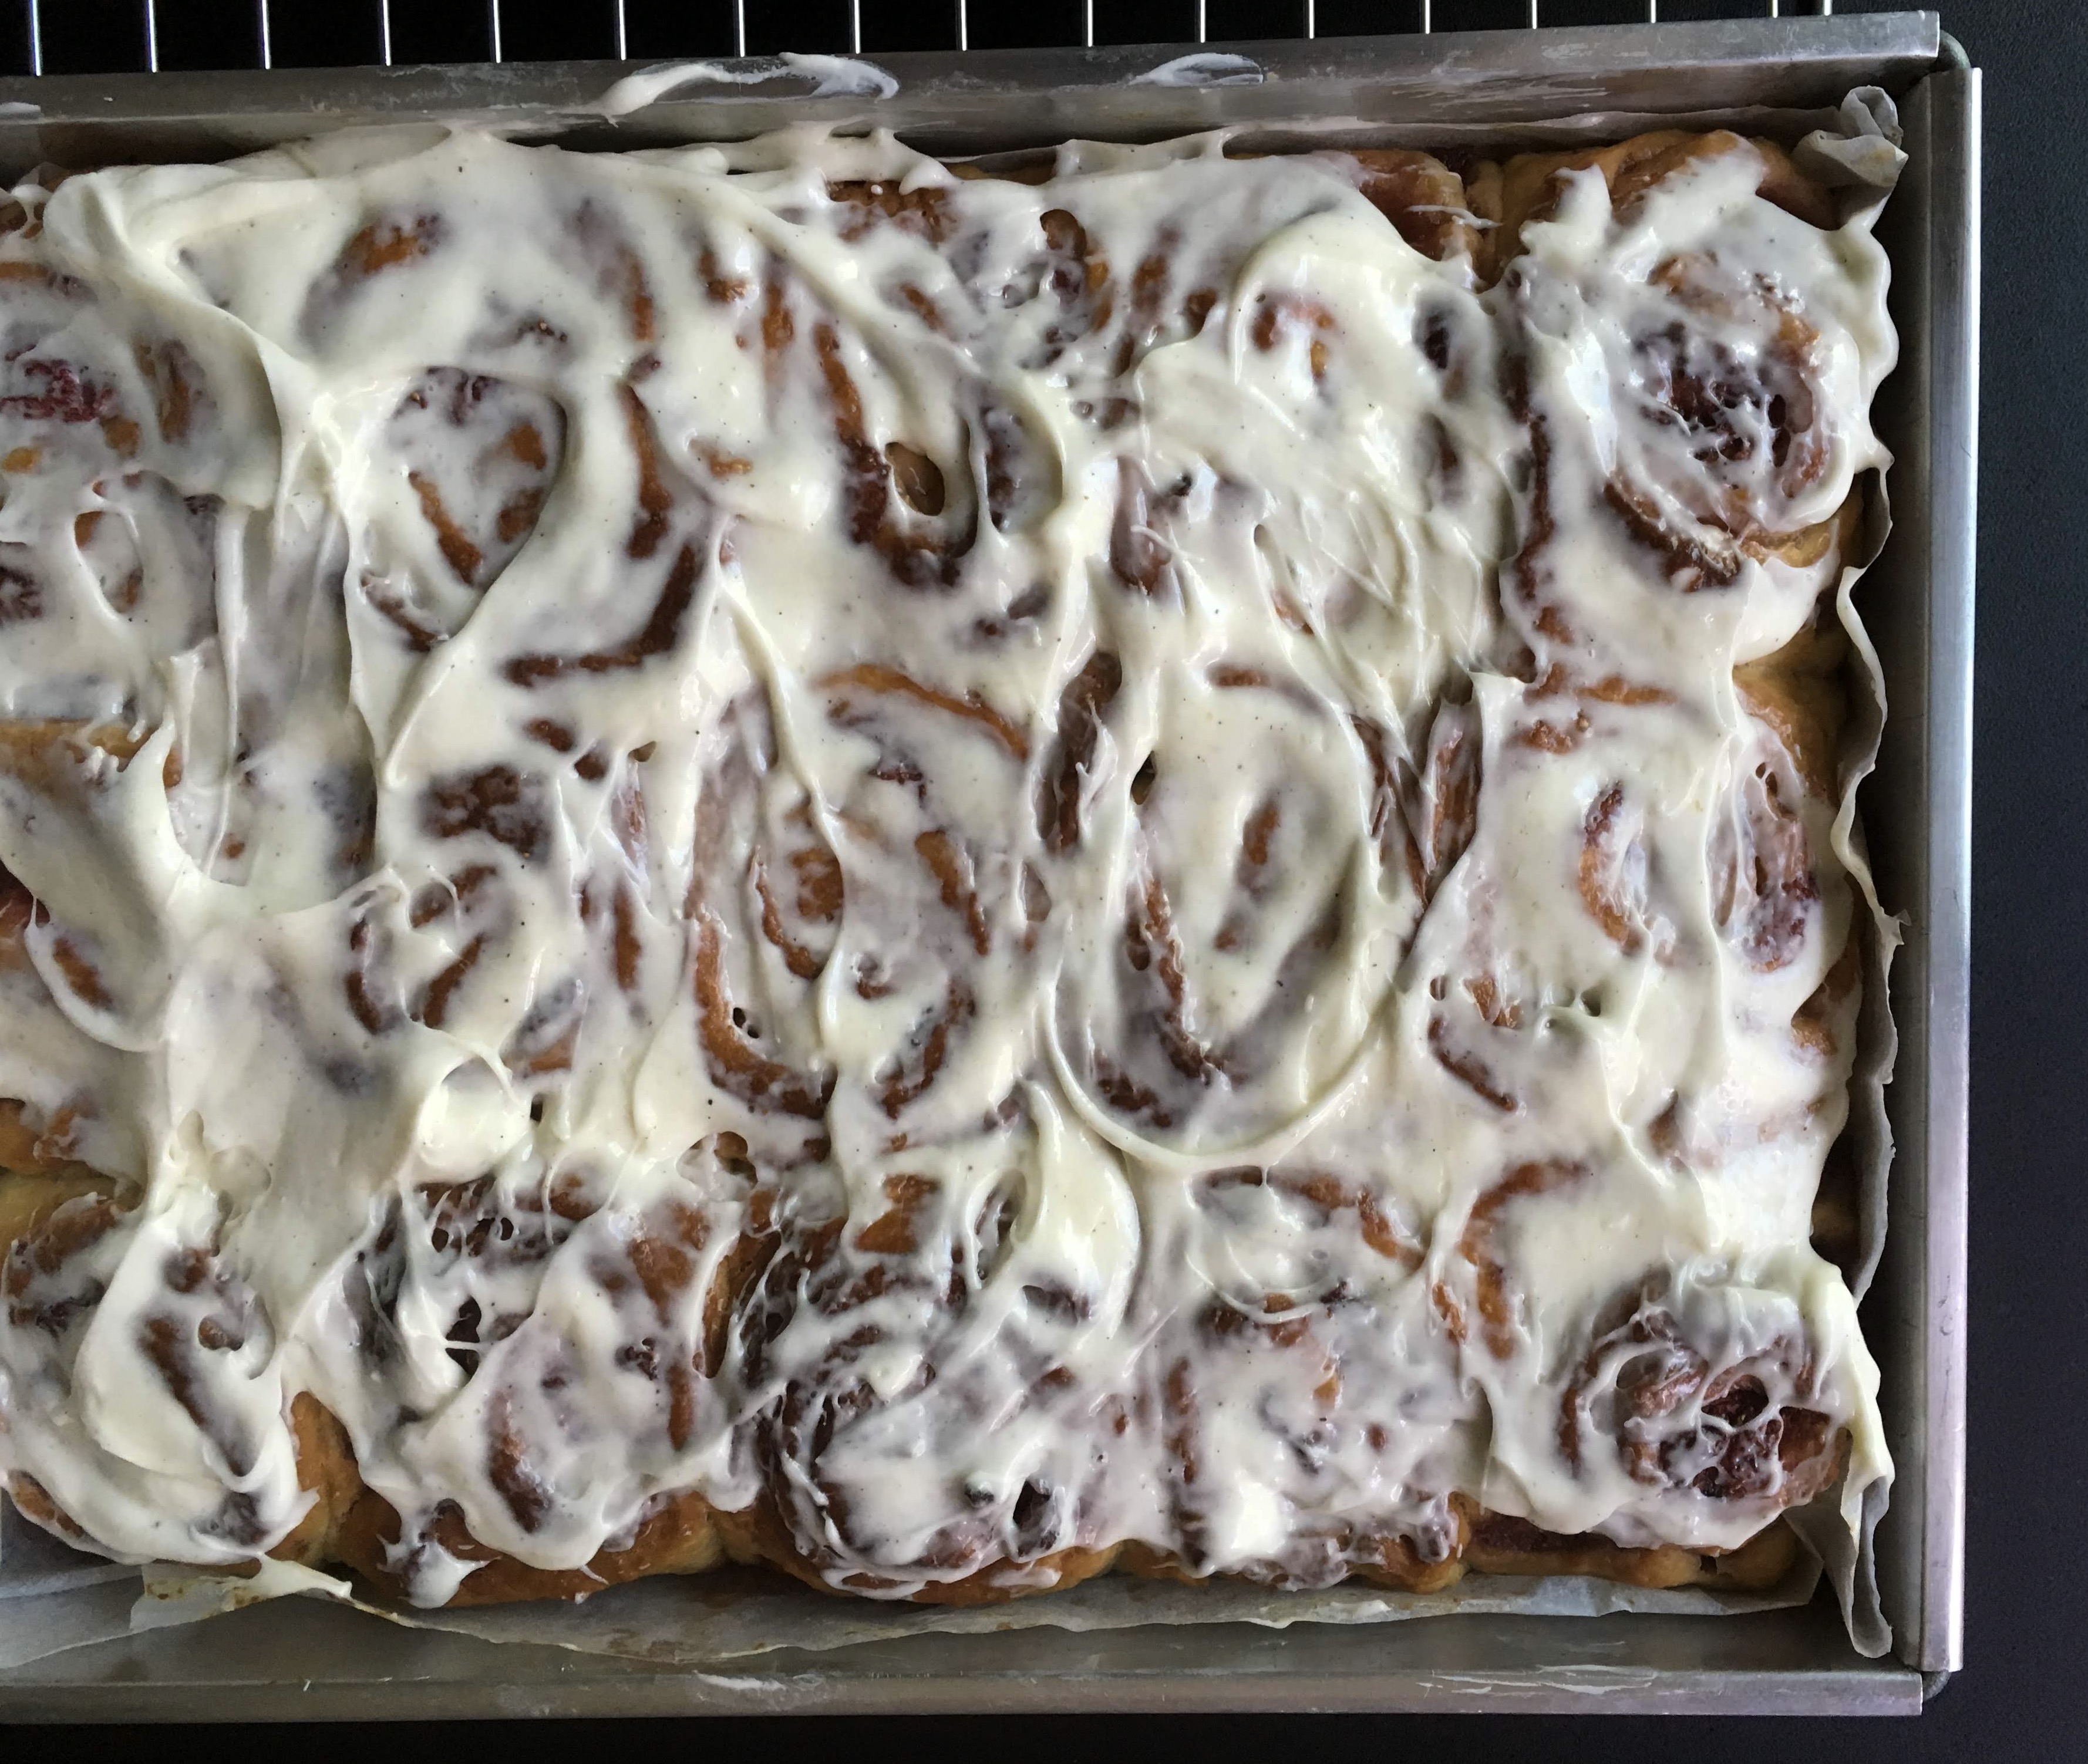
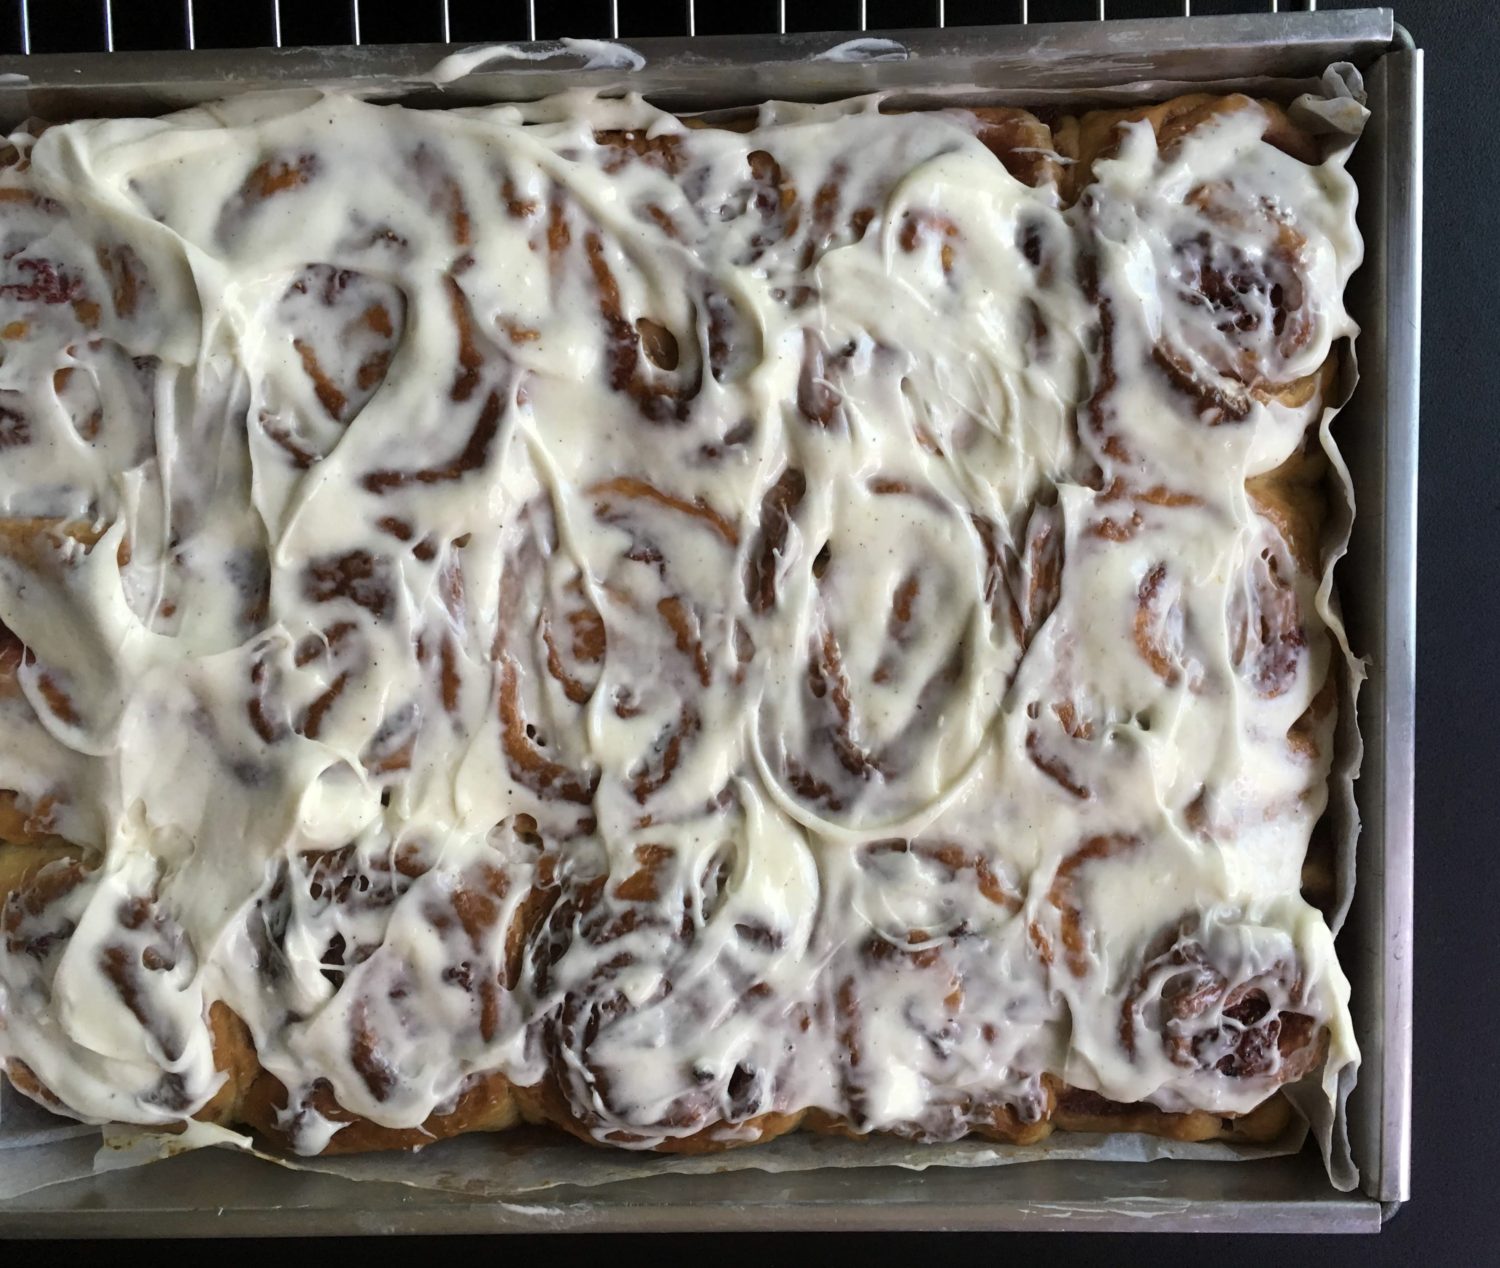
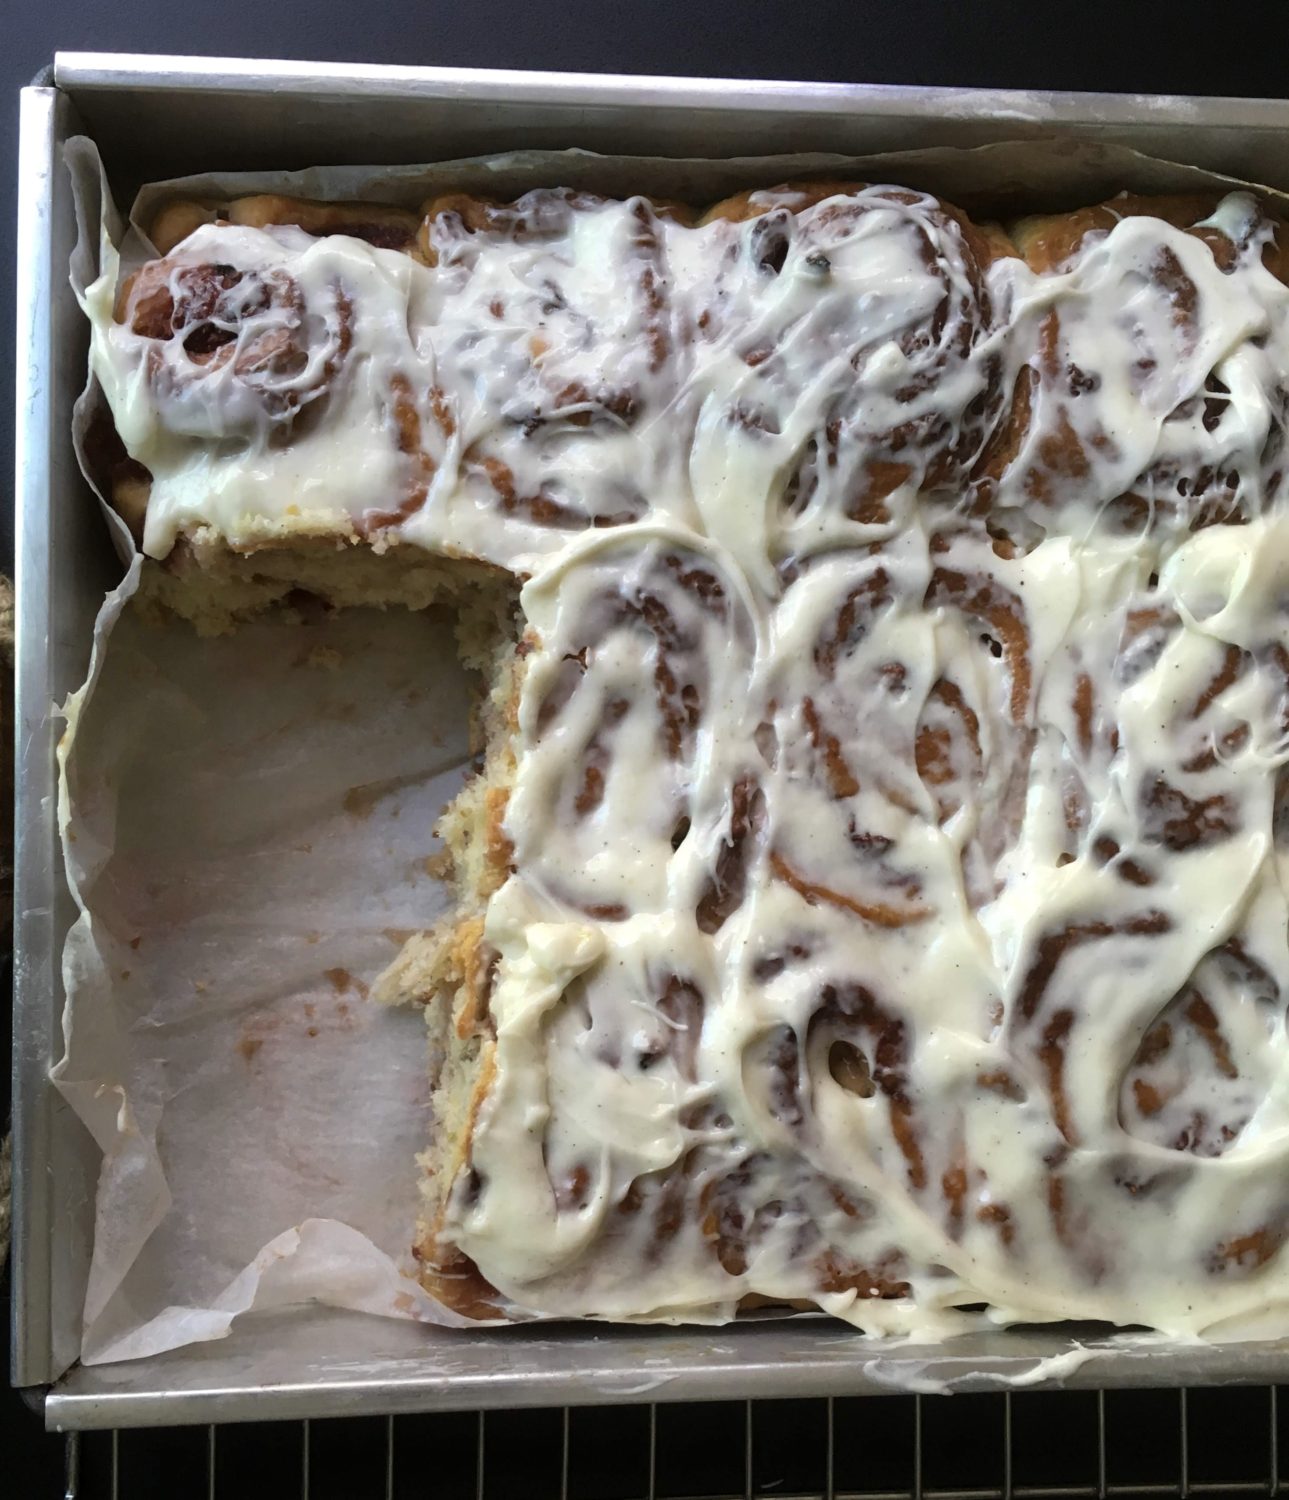
When it was strawberry season in Chiang Mai, I came across a Instagram post from @jocooks and was immediately inspired! Joanna of Jo Cooks is a genius (go check out her blog and IG page)! She marries fluffy, sweet dough with fresh strawberries and she tops it with cream cheese icing. What’s there not to like ? These rolls are so easy to make and it’s hard to stop at just one. Jo’s rolls are Cinnabon’s perfect copy cat (note: Make sure to make Jo’s Cinnabons Cinnamon Rolls recipe later) and instead of the traditional brown sugar and butter filling, she used fresh, chopped strawberries and strawberry jam and the result? Well, they’re fantastic! They’re perfect with your morning coffee and/or dessert.
Here’s a quick story about these rolls- we brought several rolls with us up a mountain in Chiang Mai for breakfast before our elephant tour and shared them with the local guides and their families. The main guide was so impressed by them that he asked me to talk to his wife and teach her how to make it. He said his wife is a good cook, but she never bakes and he loves baked goods! He might have been in trouble after we left. Ha. Poor guy. Off to sleep with the elephants for him that night.
Right now is the perfect time to make these Strawberry Rolls with Cream Cheese Icing. Summer in Canada means fresh local berries and we love us some good Ontario strawberries. Here’s the quick how-to for you and let us know what you think.
- ½ cup milk
- 1 tsp active dry yeast
- 1 egg
- ¼ cup sugar
- ¼ cup margarine or butter (unsalted)
- 2 cups all-purpose flour
- ¼ tsp salt
- 1 cup strawberries fresh and chopped
- ¾ cup strawberry jam
- ½ cup cream cheese at room temperature
- 3 tbsp butter unsalted, softened
- 1 tsp vanilla extract
- 1½ cups powdered sugar
- Warm up the milk in the microwave for 30 seconds. Add yeast to it, stir and let sit for 5 minutes until yeast dissolves.
- In the bowl of your mixer, add the sugar, egg, margarine or butter, flour and pinch of salt. Mix using the paddle attachment until the dough resembles peas. Switch to the hook attachment. add the milk mixture and mix for about 3 to 5 minutes. Dough should be elastic and soft. Place the dough in a slightly oiled bowl, cover with plastic wrap and let it rise in a warm place until doubled in size. I usually turn the oven on to 350 F for about 1 minute until it's warm inside, turn off the oven and place the bowl with the dough in the oven and close the door. This speeds up the process and in about 45 min your dough should have doubled in size.
- Butter a 10 inch pie dish, or any baking dish you choose to use.
- Roll the dough into a rectangle that's about 18 inches x 12 inches. Spread the strawberry jam over the dough evenly. If you use too much jelly it will come out when you slice into rolls. Evenly arrange the strawberries over the jelly.
- Start rolling the dough, starting from the far side towards you. When you reach the end make sure to pinch the sides together.
- Cut the roll into 8 equal rolls. To make this easier cut the roll in half first, then each half in half and so on, until you have 8 rolls. Use a serrated knife, I found it easier to cut the rolls.
- Place the rolls into the prepared baking dish and cover with plastic wrap. Let the rolls rest and rise until doubled in size. You can use the oven trick again to speed up the process. Just make sure to turn off the oven, you only want it to warm for about a minute so that the rolls stay in a warm environment.
- In the meantime you can prepare the cream cheese icing. Place all the ingredients in the bowl of your mixer and mix until smooth. If you find the icing is too thick add 1 tbsp of milk, keep adding milk until the desired consistency, but only add 1 tbsp at a time because it thins out quickly. You shouldn't need more than 1 or 2 tbsp of milk, I didn't use any at all. If the icing is too thin, add more powdered sugar and mix. Play with the ingredients, until you get your desired consistency. I like mine a bit thicker, but not too thick so that you can still drizzle over the rolls.
- Once the rolls have doubled in size, bake at 350 F degrees for about 30 minutes or until nice and golden. Let the rolls cool a bit, for about 10 minutes then drizzle with the cream cheese icing and serve.
Make sure your milk is not too hot or it could kill the yeast which will cause your dough not to rise at all. The ideal temperature for the milk should be between 105 F degrees and 110 F for proofing. While 95 F degrees is the best temperature for yeast to multiply, that's not warm enough for proofing active dry yeast.
If after dissolving the yeast in the warm milk, the yeast didn't start to froth up, do not continue with the rolls, your dough will not rise.
TIP: To speed up the dough rising process, heat your oven to 200 F degrees. Turn off the oven and place your dough in the oven with the door closed. This will ensure a warm environment for your dough and the dough will rise fairly quickly, assuming the yeast was good.
You could prepare this the day before up until step 7. Cover the pan with plastic wrap and place it in the fridge overnight. The rolls should continue to rise in the fridge but if by morning they have not doubled in size, turn your oven on to 200 F degrees until it warms up, then turn it off. Place the pan in the oven for about 30 to 45 minutes until the rolls double in size. Then you can bake them as instructed.
To freeze unbaked rolls, complete everything up to and including step 7, then wrap the pan in two layers of plastic wrap. Freeze for 8 hours up to 6 weeks. The night before you want to bake the rolls, thaw them out in the refrigerator, still wrapped. They will thaw overnight. Finish the rest of the steps to bake them.
In my small kitchen in Chiang Mai, I didn’t have all the gadgets I used to have in my Toronto kitchen so to make these rolls, I just used my hand powered big wooden spoon and my teeny, tiny oven and they turned out just fine! What I’m trying to say is this – if I can make these rolls, anyone can make them! So what are you waiting for, roll on!

