Small space living was something new for us. Two not so small people living in a small space presented some challenges but we were happy to call our 30 square meter condo home because it gave us what we needed. But truth be told, I miss my old kitchen. I had everything I needed in my old kitchen. I had a good sized pantry, a full sized fridge, an oven and plenty of storage space! I enjoyed spending a lot of time in my old kitchen cooking, baking and experimenting. I specially miss my kitchen gadgets and pantry. Arkadi misses his precious espresso machine! But, it’s hard to appreciate what you now have if you keep on looking back at what you once had, right? So every time I start missing my old kitchen, I try to come up with a project that I can do in my new kitchen. For example, I’ve always wanted to make homemade vanilla extract, but never got around to it. I don’t need a big kitchen and countless gadgets for this project so I went out and gathered everything I need to make this project happen.
I found this how to recipe from thekitchn.com that’s easy and simple. You basically only need two ingredients and a bottle, a cutting board and a knife. Here’s the little how to for you:
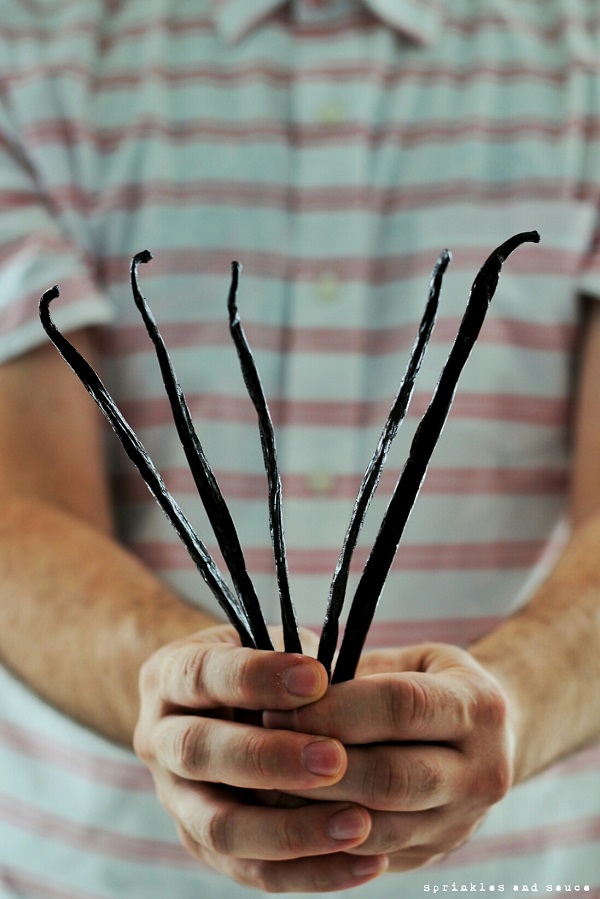
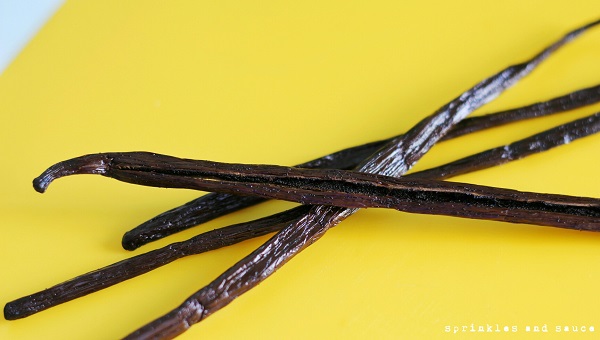
- 3 to 5 vanilla beans
- 8 ounces alcohol such as vodka, bourbon, brandy, or rum*
- → General Rule of Thumb: Use 3 to 5 vanilla beans per 8 ounces of alcohol and multiply accordingly if making more extract.
- Equipment
- Cutting board and knife
- Clean jar or bottle
- New bottle(s) for packaging (optional)
- Small funnel (optional)
- Coffee filter (optional)
- Split the vanilla beans: Split each vanilla bean in half lengthwise. If you like, you can leave an inch connected at the end of the bean for an attractive presentation. You can also chop the beans into smaller pieces if necessary to fit in your jar or bottle.
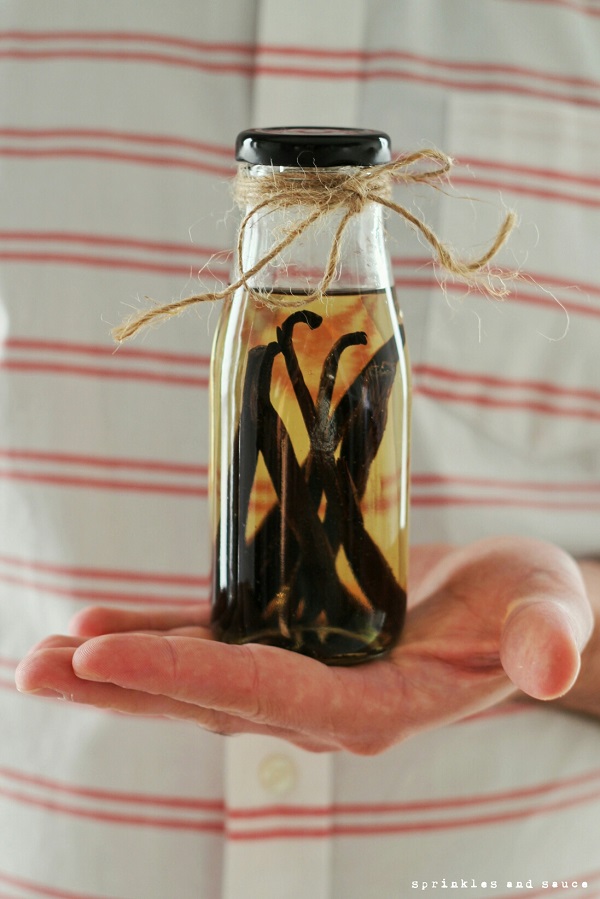
- Place the vanilla beans in a jar and cover with alcohol: Place the vanilla beans in a clean jar or bottle. Cover them with alcohol, making sure they are completely submerged. Cover the jar or bottle and give it a good shake.
- Infuse for at least one month: Store the jar or bottle of vanilla beans in a cool, dark place for at least one month, shaking it from time to time. Taste the extract and let it infuse longer if you want a stronger flavor.
- Strain it if you like: You may wish to remove the vanilla pods and decant the extract into a pretty bottle. The little flecks of seeds can be a nice touch, but if you want a clear extract you can strain them out using a coffee filter.
- Or leave the pods in the extract: You can also leave the beans in the alcohol and top off the bottle as you use the extract. Eventually all the flavor will be extracted from the original vanilla beans, so you can periodically add fresh beans as well as leftover pods that you've scraped for other recipes.
- → Uses for spent pods. You can also make good use of the spent vanilla pods by drying them and then making vanilla sugar or flavored salt.
Head on over to this link to get more useful tips: http://www.thekitchn.com/how-to-make-homemade-vanilla-extract-cooking-lessons-from-the-kitchn-197785
Even though I can’t bake anything because we don’t have an oven, I make plenty use of my homemade vanilla extract when I make crepes, pancakes and french toast! And because you can just top off the extract as you use it, I never have to worry about running out of it. I love cooking projects and I love learning how to make things from scratch. How about you? What kitchen projects have you done lately ? Or what kitchen projects do you want to try soon? Better yet, what’s your favorite way to use vanilla extract? Let us know because we’d love to hear from you!
